
If you’re thinking about getting the Bambu Lab A1 Mini, this post covers everything you need to know — from unboxing to assembling, connecting, and running your very first print.
The A1 Mini is compact, quiet, extremely capable, and designed to give creators reliable, studio-quality prints right from their desk.
Check below our take on unboxing & product setup :
⭐ Why the Bambu Lab A1 Mini is Special
The A1 Mini is not just another budget printer — it’s an innovation-packed machine with:
✔ Next-gen automation
✔ Whisper-quiet performance
✔ Impressive speed & accuracy
✔ Beginner-friendly design
✔ Fully guided calibration
And all of this in a compact, affordable package.
I purchased this printer from Robu.in, one of the official Indian distributors for Bambu Lab products — highly recommended for quick delivery and genuine parts.
Robu.in purchase link: https://robu.in/product/bambu-labs-a1-mini-3d-printer/
Wol3d purchase link: https://wol3d.com/product/bambu-lab-a1-mini/
Hydrotech3dchennai purchase link: https://www.hydrotech3dchennai.com/product-page/bambulab-a1-mini-3d-printer
Unboxing the A1 Mini
Bambu has done a great job with packaging — everything is neatly arranged and well-protected with cardboard and styrofoam.
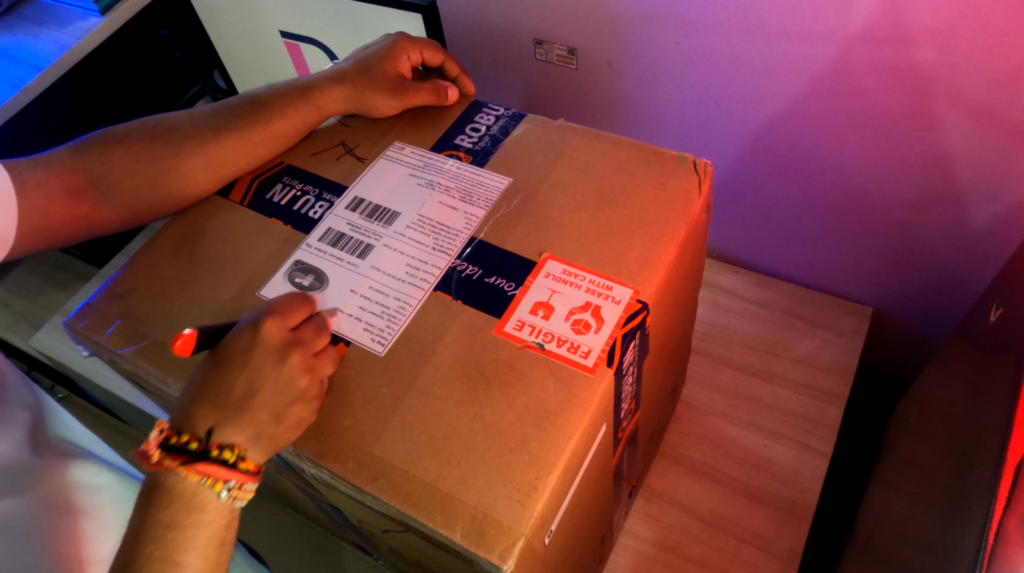
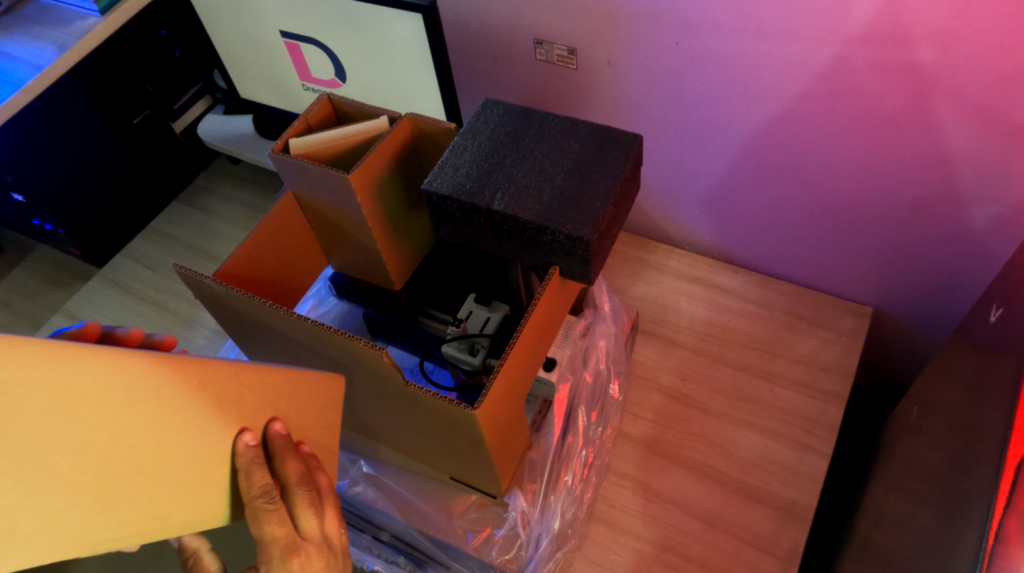
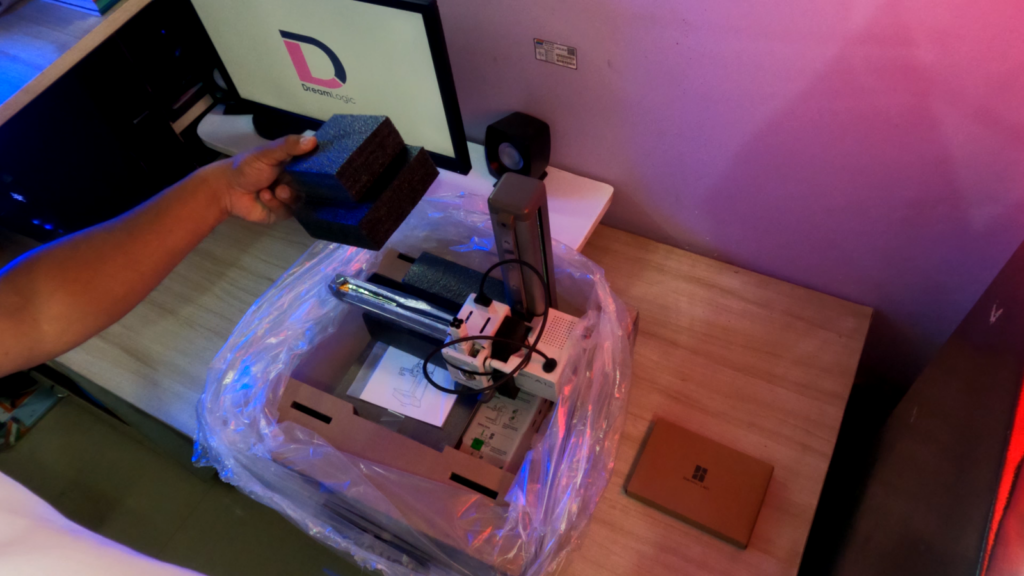
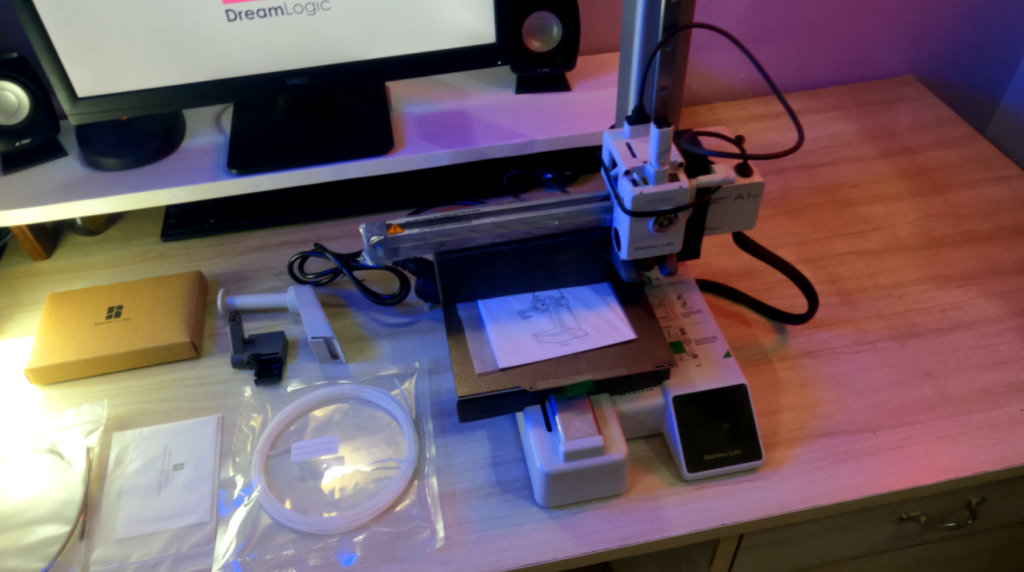
Inside the box, you’ll find:
- A cardboard accessory box
- Silica gel for moisture protection
- Plastic spool holder
- Warranty documents
- The printer itself, securely wrapped
- PTFE tube for filament feed
- 20g Bambu PLA Basic sample
- Purge wiper (inside the styrofoam cavity near the X-axis)
Download spec sheet : A1 mini tech specs.pdf
| A1 Mini – Technical Specifications | |
|---|---|
| Body | |
| Build Volume | 180 x 180 x 180 mm³ |
| Chassis | Steel + Extruded Aluminum |
| ToolHead | |
| Hot End | All-Metal |
| Extruder Gears | Hardened Steel |
| Nozzle | Stainless Steel |
| Max Hot End Temperature | 300 ℃ |
| Nozzle Diameter (Included) | 0.4 mm |
| Nozzle Diameter (Optional) | 0.2 mm, 0.6 mm, 0.8 mm |
| Filament Cutter | Yes |
| Filament Diameter | 1.75 mm |
| Heatbed | |
| Compatible Build Plates |
Bambu Textured PEI Plate Bambu Smooth PEI Plate Bambu Dual-Texture PEI Plate |
| Max Build Plate Temperature | 80 ℃ |
| Speed | |
| Max Speed of Toolhead | 500 mm/s |
| Max Acceleration of Toolhead | 10000 mm/s² |
| Max Hot End Flow | 28 mm³/s @ ABS (Model: 150 × 150 mm single wall; Material: Bambu ABS; Temp: 280 ℃) |
| Cooling | |
| Part Cooling Fan | Closed Loop Control |
| Hot End Fan | Closed Loop Control |
| MC Board Cooling Fan | Closed Loop Control |
| Supported Filament | |
| Ideal | PLA, PETG, TPU, PVA |
| Not Recommended | ABS, ASA, PC, PA, PET, Carbon/Glass Fiber Reinforced Polymer |
| Sensors | |
| Monitoring Camera | Low Rate Camera (up to 1080P), Timelapse Supported |
| Filament Run Out Sensor | Yes |
| Filament Odometry | Yes |
| Power Loss Recovery | Yes |
| Filament Tangle Sensor | Yes |
| Physical Dimensions | |
| Dimensions | 347 x 315 x 365 mm³ |
| Net Weight | 5.5 kg |
| Electrical Requirements | |
| Input Voltage | 100–240 VAC, 50/60 Hz |
| Max Power | 150 W |
| Electronics | |
| Display | 2.4-inch 320×240 IPS Touch Screen |
| Connectivity | Wi-Fi, Bambu-Bus |
| Storage | Micro SD Card |
| Control Interface | Touch Screen, APP, PC Application |
| Motion Controller | Dual-Core Cortex M4 |
| Software | |
| Slicer | Bambu Studio Supports SuperSlicer, PrusaSlicer, Cura (some advanced features may not work) |
| Slicer Supported OS | MacOS, Windows |
| Wi-Fi | |
| Frequency Range |
2412–2472 MHz (CE) 2412–2462 MHz (FCC) 2400–2483.5 MHz (SRRC) |
| Transmitter Power (EIRP) |
≤ 21.5 dBm (FCC) ≤ 20 dBm (CE/SRRC) |
| Protocol | IEEE 802.11 b/g/n |
What’s Inside the Accessory Box?
The accessory kit includes all essential tools for setup and maintenance:
- Cable organizer
- H2 and H1.5 Allen keys
- Scraping blade
- Unclogging pin tool
- Spool holder base
- Screws for purge wiper & spool holder
- Lubricant oil (3g)
- Lubricant grease (3g)
Assembly & Initial Setup
One of the best things about the A1 Mini is that it comes mostly preassembled, so setup is quick and easy.
1️⃣ Remove the Z-Axis Transport Lock
Using the H2 Allen key, remove the four screws that lock the Z-axis during shipping.
2️⃣ Free the Toolhead & Heatbed
- Cut off the black zip tie holding the toolhead
- Remove styrofoam around the toolhead and heatbed
- Peel off any protective stickers
- You’ll also find a quick start guide on the bed
3️⃣ Tighten Heatbed Screws
Flip the printer slightly and tighten the three screws under the heatbed.
These are intentionally loose during shipping.
4️⃣ Install the Purge Wiper
Slide the purge wiper into the slot on the X-axis from back to front.
Secure it using the screw labeled “For Purge Wiper.”
5️⃣ Install the Spool Holder
Attach the spool holder base using screws labeled “For Spool Holder.”
Slide the main holder onto the base.
6️⃣ Connect the PTFE Tube
- One end → any of the four filament inlets on the toolhead
- Other end → filament guide
- Use cable organizer to clip PTFE tube + toolhead cable together
Powering Up the Printer
Plug in the printer and switch it ON from the back.
You’ll hear a startup chime and see a START screen.
Follow the on-screen prompts:
- Select language and region
- Connect to Wi-Fi
- Login using the Bambu Handy App
- Scan the QR code to bind the printer
You can use Google login for quick setup.
Once linked, give your printer a name.
First Calibration
Press START on the screen — the A1 Mini handles the rest:
It will automatically perform:
- Motor noise calibration
- Automatic bed leveling
- Vibration calibration
- Axis compensation
This takes around 10–15 minutes, and you can track everything using the Bambu Handy App.
Lubricating the Y-Axis
Once calibration completes, the LCD will ask you to lubricate the Y-axis rails.
Use the included 3g oil:
- Apply evenly on both rails
- Spread using the back end of the tube
- Slide the heatbed via the touchscreen to distribute the oil evenly
Repeat for both sides.
Install Bambu Studio (Slicing Software)
On your computer:
- Visit bambulab.com → Software → Bambu Studio
- Download for Windows or Mac
- Install and open
This slicer converts STL/3D models into G-code ready for your printer.
🚀 First Print – The Classic Benchy
The A1 Mini comes with preloaded sample models in its 32GB internal memory.
I printed the classic 3D Benchy as the first test — and the results were impressive.
You can monitor print progress on:
- Printer’s LCD screen
- Bambu Handy smartphone app
- Bambu Studio on PC
And here it is — our very first print from the A1 Mini!
Final Thoughts
The Bambu Lab A1 Mini exceeds expectations with its automation, compact size, and print quality.
Whether you’re:
- A beginner
- A hobbyist
- A maker
- Or a professional, prototyping parts
…the A1 Mini feels like a premium machine in a small package.
More tutorials, mods, prints, and comparisons coming soon!
📢 If You Enjoyed the unboxing & setup for A1 mini 3d printer, Don’t forget to:
✔ Subscribe to DreamLogic youtube channel
✔ Hit the bell icon
✔ Leave a comment with your questions
✔ Follow for more 3D printing videos
Thanks for reading — see you in the next post!